KAmodRPI Pico Relay
From Kamamilabs.com - Wiki

Description
KAmodRPI Pico Relay is a module in the form of a shield with 2 relays designed for Raspberry Pi Pico. It allows you to control devices with an operating voltage of up to 250 V AC and a current of up to 3 A or a voltage of 30 V DC and a current of 3 A The board has diodes indicating the status of the relays. The module will be used in applications in the field of home automation, industry and security systems.
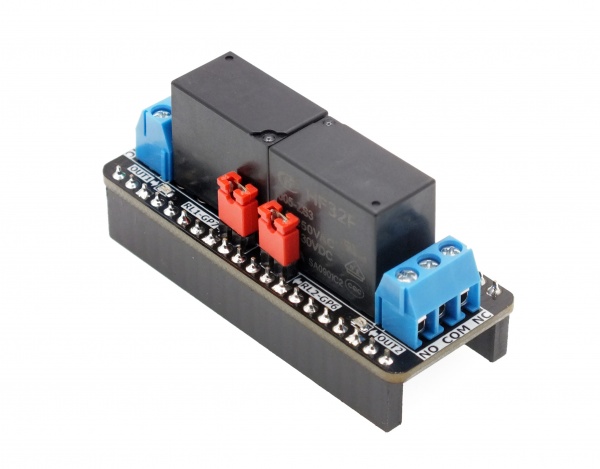
Basic features and parameters
- 2 x SPDT relay 3 A 250 V AC or 3 A 30 V DC
- LEDs indicating relay activation status
- Optoisolation
- Compatible with Raspberry Pi Pico series
- ARK screw terminals
- Jumpers allowing to disconnect default Raspberry Pi lines controlling relays
- Operating voltage: 5 V
- PCB dimensions: 21 x 55 mm
Standard equipment
| Code | Description |
|---|---|
| KAmodRPI Pico Relay |
|
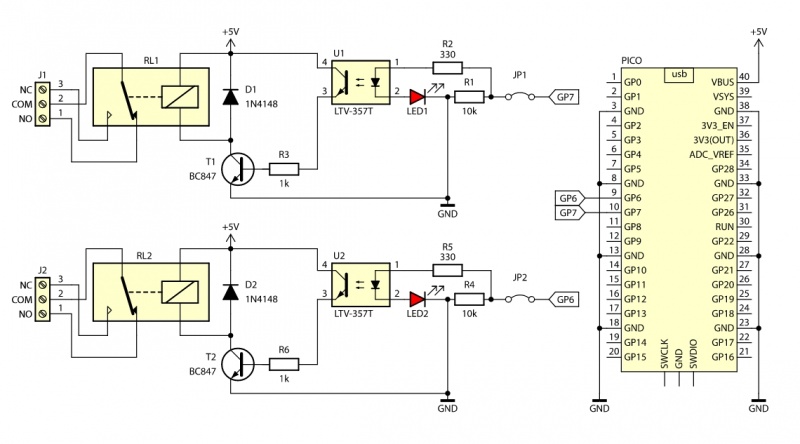
Wiring diagram
PCB view
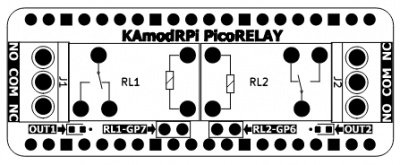
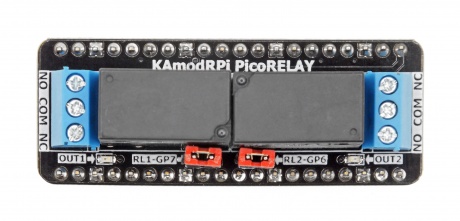
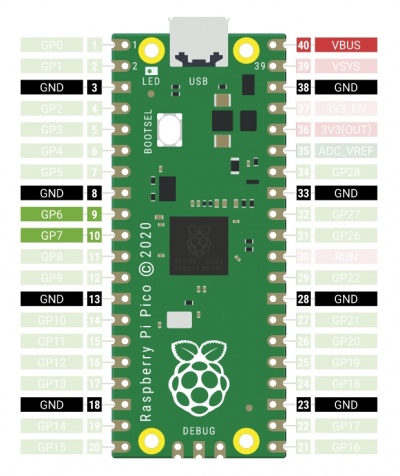
Assigning outputs to Raspberry Pi Pico GPIO lines
| Raspberry Pi Pico Pinout | KAmodRPI Pico Relay |
|---|---|
| GPIO7 | REL1, OUT1 |
| GPIO6 | REL2, OUT2 |
The GPIO line outputs are connected to the control circuit via a jumper, which allows you to disconnect the appropriate pins if necessary.
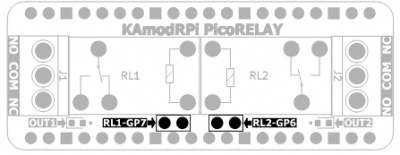
Jumpers connecting Raspberry Pi pins with relay switching circuits.
Signal diodes
The module is equipped with two LED diodes, signaling that the appropriate relay is switched on.
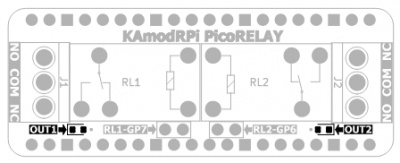
Relay outputs
The relay contact outputs are led out to screw terminals, allowing for mounting both insulated wire ends and wires with crimped sleeve terminals. Both normally closed (NC) and normally open (NO) contacts are available.
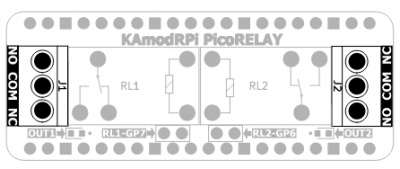
Example use
KAmodRPi Pico Relay shield applied to Raspberry Pi Pico
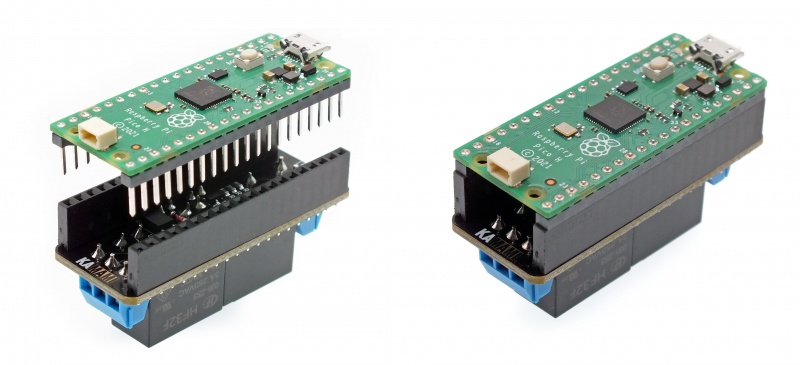
| The Raspberry Pi Pico computer visible in the pictures is not included in the set. |
|---|
Test program code in Arduino
Example program that alternately turns relays on and off.
#define REL1 7
#define REL2 6

void setup() {
  pinMode(REL1,OUTPUT);
  pinMode(REL2,OUTPUT);
}

void loop() {
  digitalWrite(REL1, HIGH);
  delay(200);
  digitalWrite(REL1,LOW);
  delay(200);
  digitalWrite(REL2, HIGH);
  delay(200);
  digitalWrite(REL2,LOW);
  delay(200);
}