KAmod USB-PCIE-M2
From Kamamilabs.com - Wiki

Description
KAmod USB-PCIE-M2 - NVME M.2 disk adapter with USB-C connector
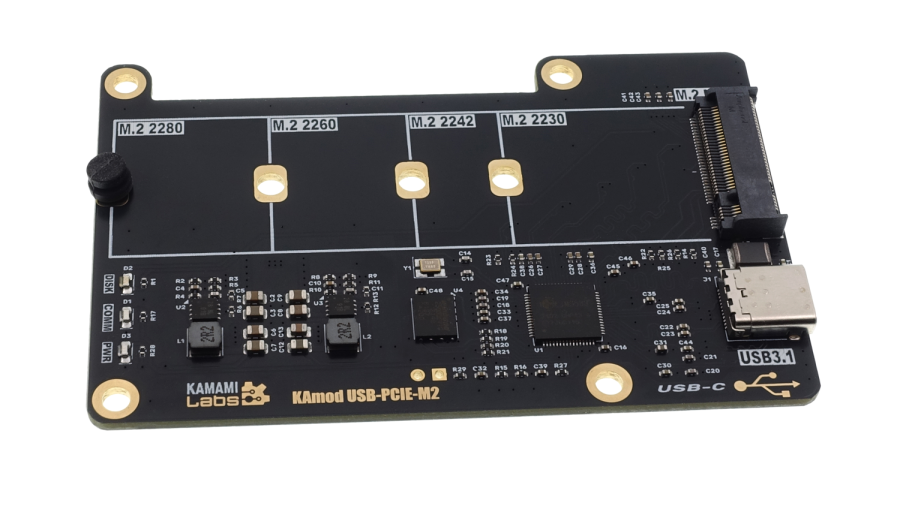
Modern SSD drives are most often equipped with a fast NVME interface implemented in the form of an NGFF connector with an M-key type, referred to as M.2 M-key. The KAmod USB-PCIE-M2 adapter allows you to connect an SSD with an M.2 M-key interface to your computer via a USB connector.
Basic parameters
- Compatible with NVME drives with M.2 M-key connector
- Allows to mount a 2230, 2242, 2260 or 2280 drive
- Includes JMS583 controller
- Communication with NVME drive via PCIe Gen 3 x2 interface
- USB interface with USB-C connector in USB 3.1 Gen 1 and Gen 2 standard
- USB interface also compatible with the older standard - USB 2.0
- The adapter is adapted for easy mounting on Raspberry Pi series boards
- Connected to Raspberry Pi computer allows to run the operating system from the mounted drive
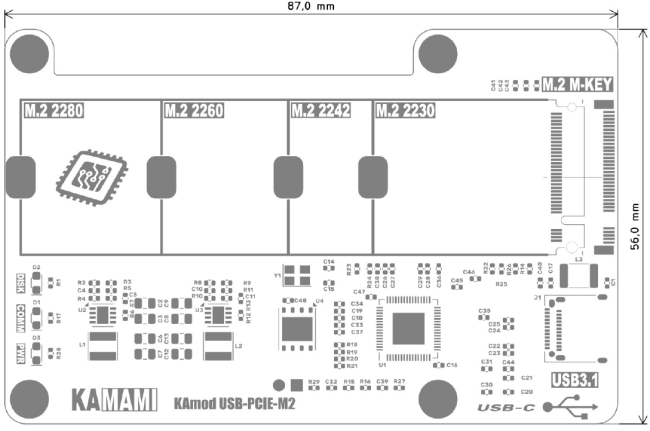
- Dimensions 87x56 mm
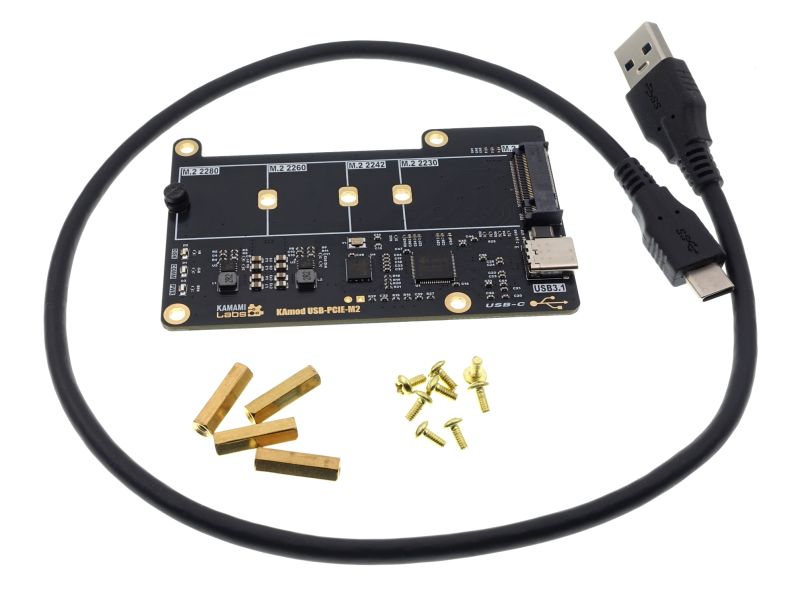
Standard equipment
| Code | Description |
|---|---|
|
|
|
|
|
|
NVME M.2 M-key Drive Connector
| Connector | Description |
|---|---|
|
M.2 M-KEY |
|
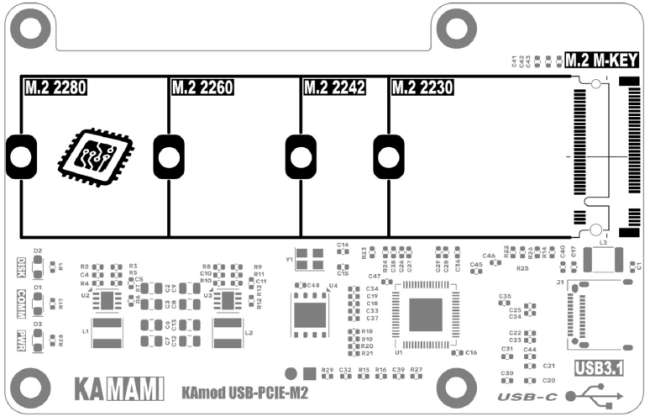
The M.2 type connector with a key type "M" (M-KEY) allows you to connect a standard NVME drive. The set of holes on the board allows for stable mounting of drives in sizes 2230, 2242, 2260 or 2280.
USB Interface
| Connector | Description |
|---|---|
|
J1 – USB 3.1 |
|
The USB interface includes a USB-C type socket, which is responsible for communication with the computer and providing power to the adapter and the mounted disk.
Communication takes place in the USB 3.1 Gen 1 and Gen 2 standards, enabling data transfer at speeds of up to 10 Gbps. The interface is also compatible with the older standard - USB 2.0.
Power is supplied to the adapter and disk via the USB connector. To ensure correct operation, a voltage of 5 V is required, and the current efficiency should not be less than 1 A. However, the power demand depends primarily on the parameters of the installed NVME M.2 disk.
USB cables with a maximum length of 0.5 m should be used.
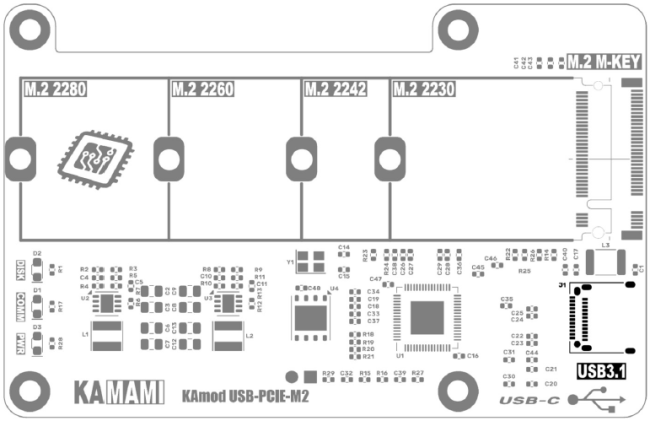
LED Indicator Lights
| LED Indicator | Description |
|---|---|
|
DISK (D2) |
Blinking LED indicates that data is being written/read/transferred to the NVME drive |
|
COMM (D1) |
Lighting/Blinking LED indicates USB-PCIE controller activity |
|
PWR (D3) |
The light indicates that power is supplied to the KAmod USB-PCIE-M2 adapter |
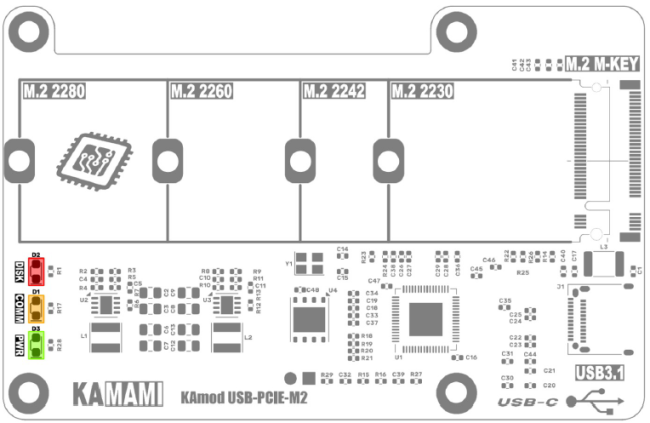
Installing an NVME M.2 drive in the KAmod USB-PCIE-M2 adapter
Note! Connecting and disconnecting an NVME M.2 drive should only be done when the adapter is disconnected from the USB port.
First, determine the size of the drive (not the capacity) - 2230, 2242, 2260 or 2280 drives are accepted. Knowing the size of the drive, install the flexible mounting clip in the hole corresponding to the given size of the drive. Now you can insert the NVME M.2 drive into the M.2 M-KEY connector so that the end of the drive protrudes slightly from the board. Then gently tilt the mounting clip towards the edge of the board, press the drive against the clip and release the clip so that it locks the drive in the adapter.
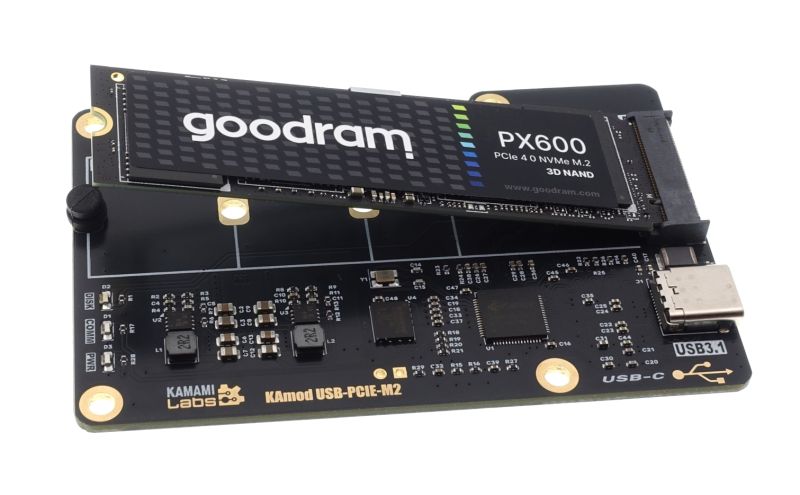
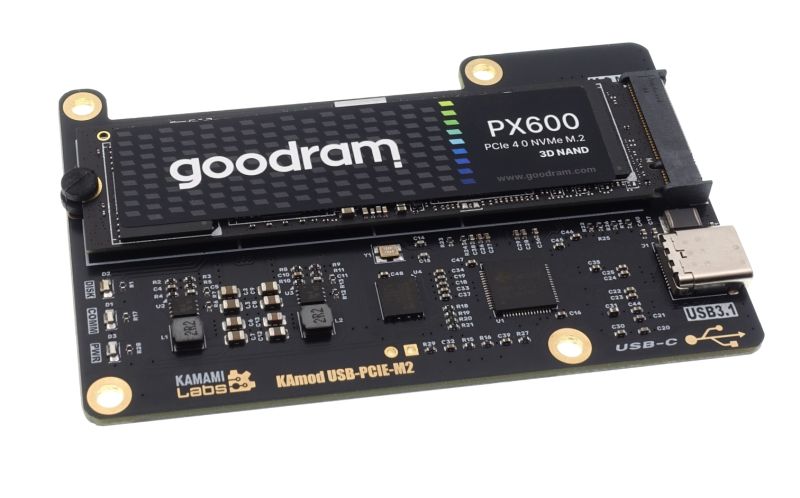
Mounting the KAmod USB-PCIE-M2 adapter on the Raspberry Pi 5 board
The KAmod USB-PCIE-M2 adapter can be mounted on the Raspberry Pi 5 computer board in the classic way - using spacer sleeves with a height of at least 16 mm, as shown in the photo. The shape of the adapter board does not block access to the GPIO pin connector.
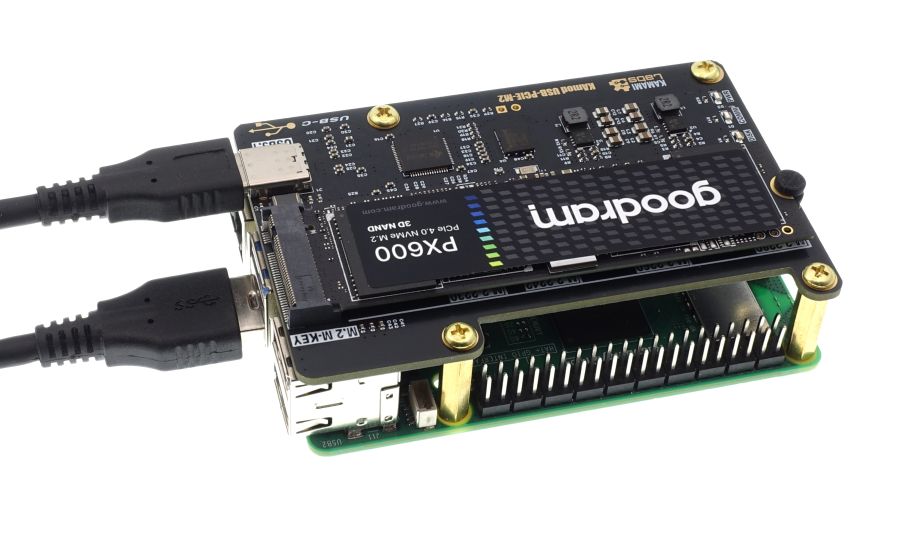
The KAmod USB-PCIE-M2 adapter can also be mounted on the bottom side of the Raspberry Pi 5 computer. Then, optionally, you can use lower sleeves, with a height of about 10 mm.
Dimensions
The dimensions of the board are 87x56 mm and match the dimensions of the Raspberry Pi 5 computer.
